Software AnaMorph-It
The AnaMorph-It software creates cylindrical mirror anamorphoses from your photos and graphics, i.e. distorted images which have to be viewed through a cylindrical mirror. It was developed as part of the Photo Anamorphosis Kit by Perpetuum Mobile.
Once downloaded, the software works as a ‘Lite’ version, with slightly limited functionality. We are of course happy if you purchase the license (key) to the ‘Plus’ version (individually or as part of the kit).
Download AnaMorph-It Lite 1.2.0
Windows Installer Software:
AnaMorphIt-1.2.0.msi
Mac Installer Software (verified by Apple):
AnaMorphIt-1.2.0.dmg
Funktionen
| Function | Lite | Plus |
|---|---|---|
| Morph photos | + | |
| Print pictures | + | + |
| Save images | - | + |
| Add caption | - | + |
| Create grid | - | + |
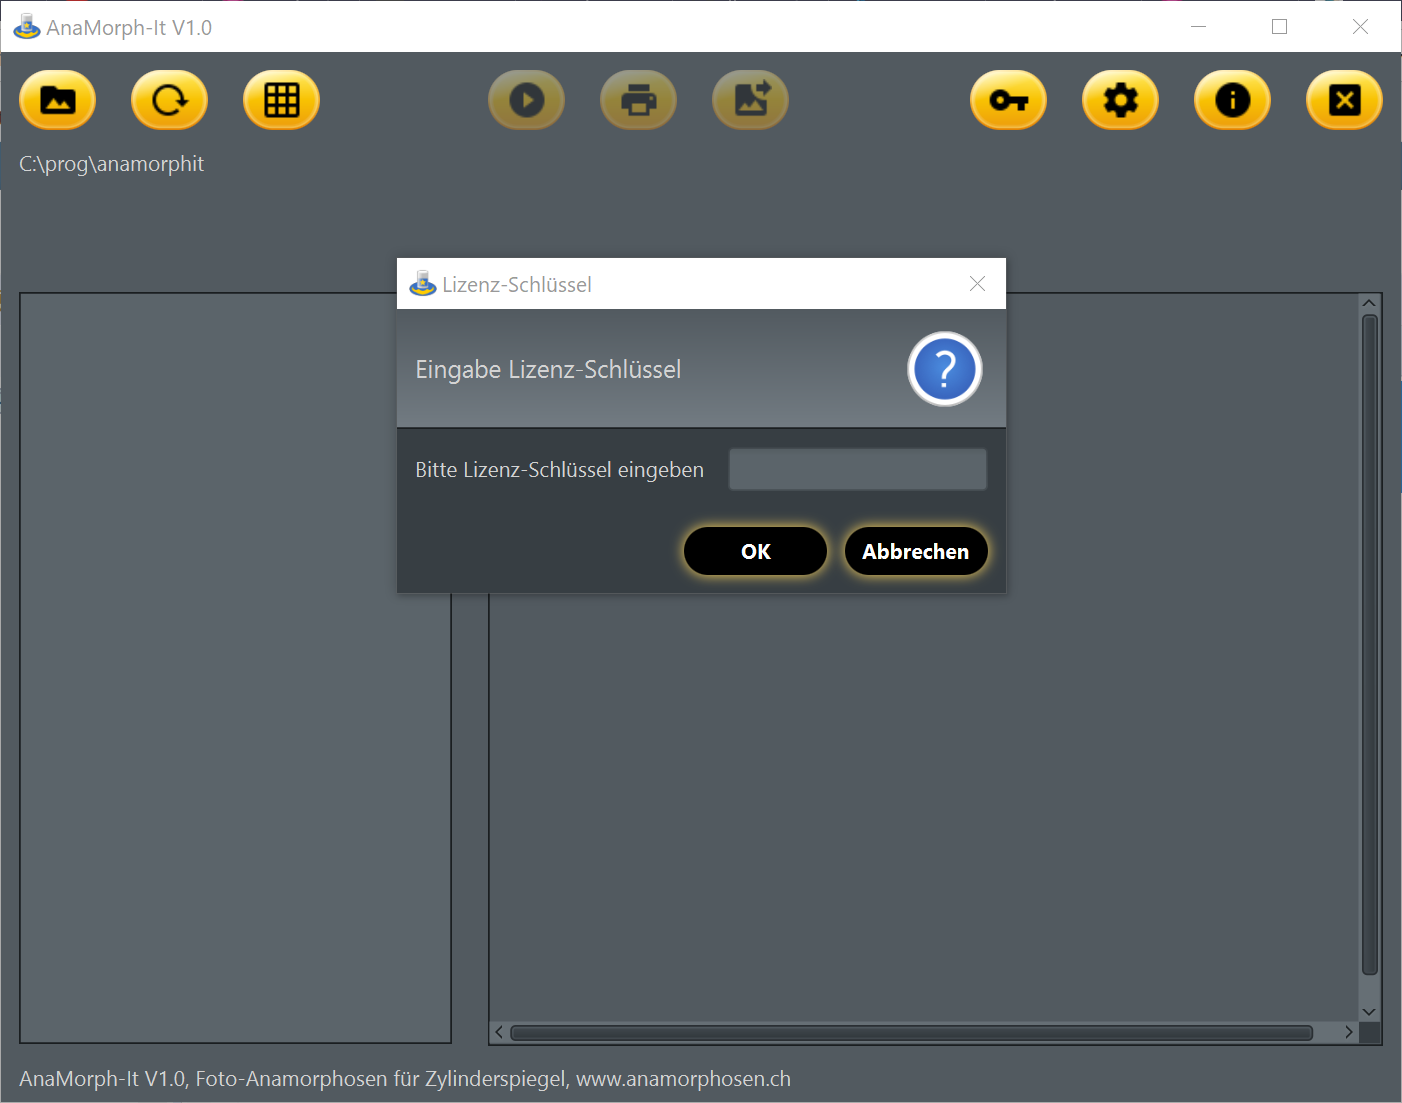
Upgrade License or 'Buy Me a Coffee'
The license to upgrade from AnaMorph-It Lite to AnaMorph-It Plus can be ordered from Perpetuum Mobile . After transferring the amount, we will send you the upgrade key by email.
If you don’t need the full version but still want to appreciate our effort, you have that possibility here:

User Guide
Create a working folder and an output folder. Copy the images you want to morph into the folder. It is recommended to limit the number, because the software will try to read them all.
We use the following in the example:
Working folder
C:\photoanamorphoses
Output folder
C:\photoanamorphoses\out
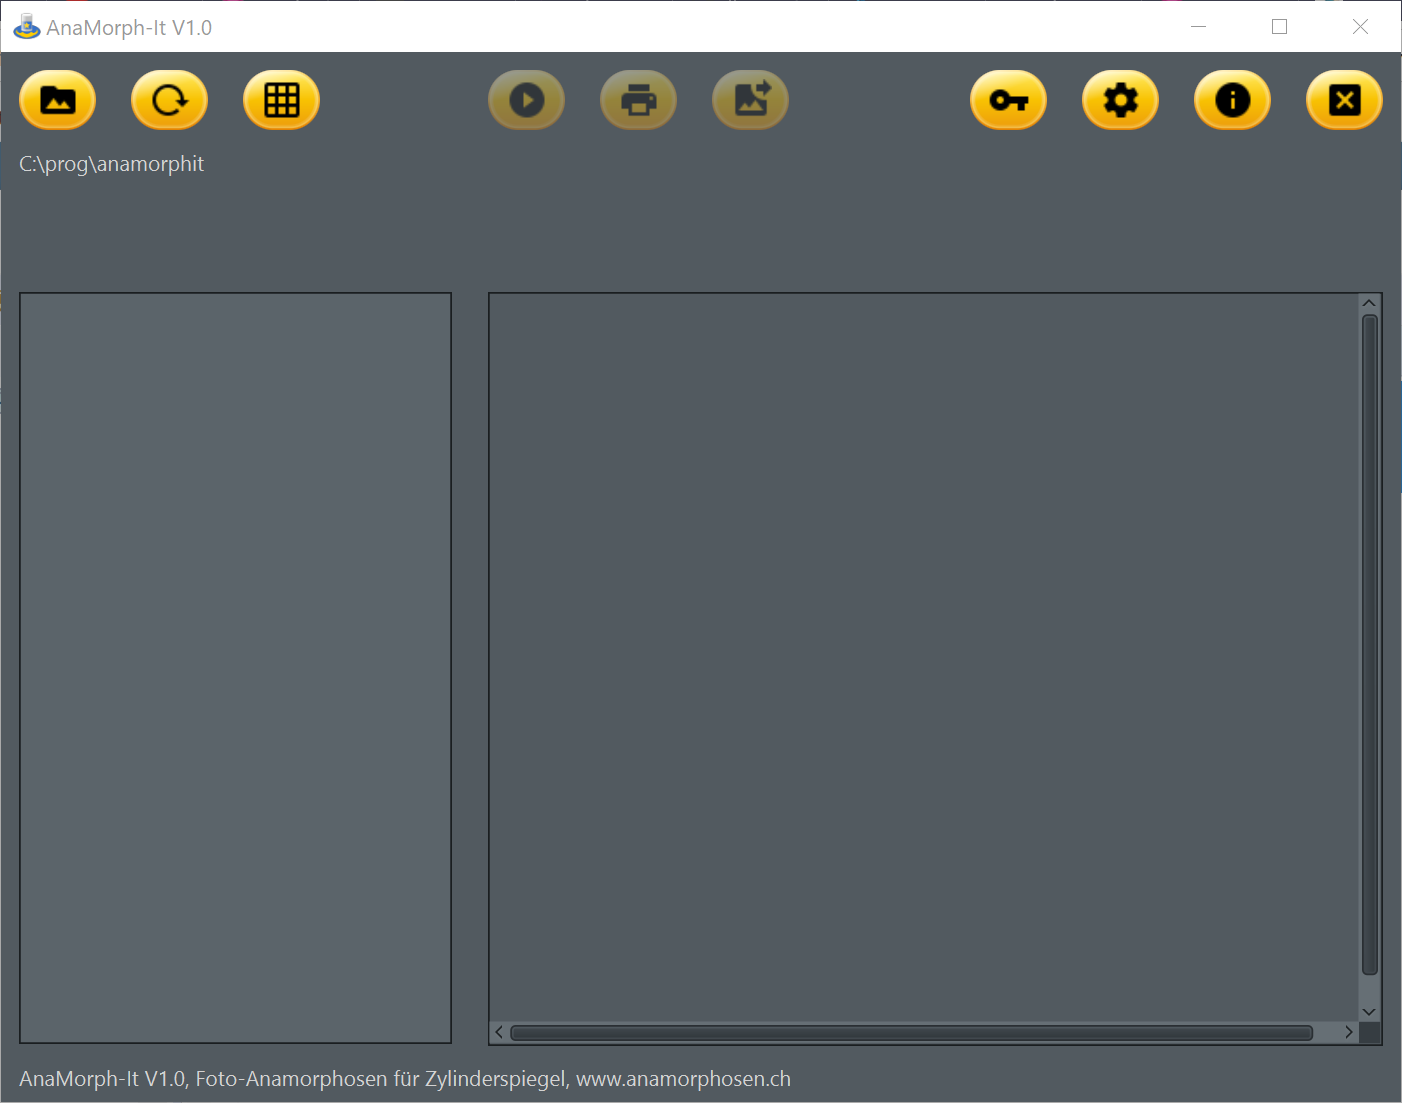
After opening the program, an almost empty window appears for the first time.


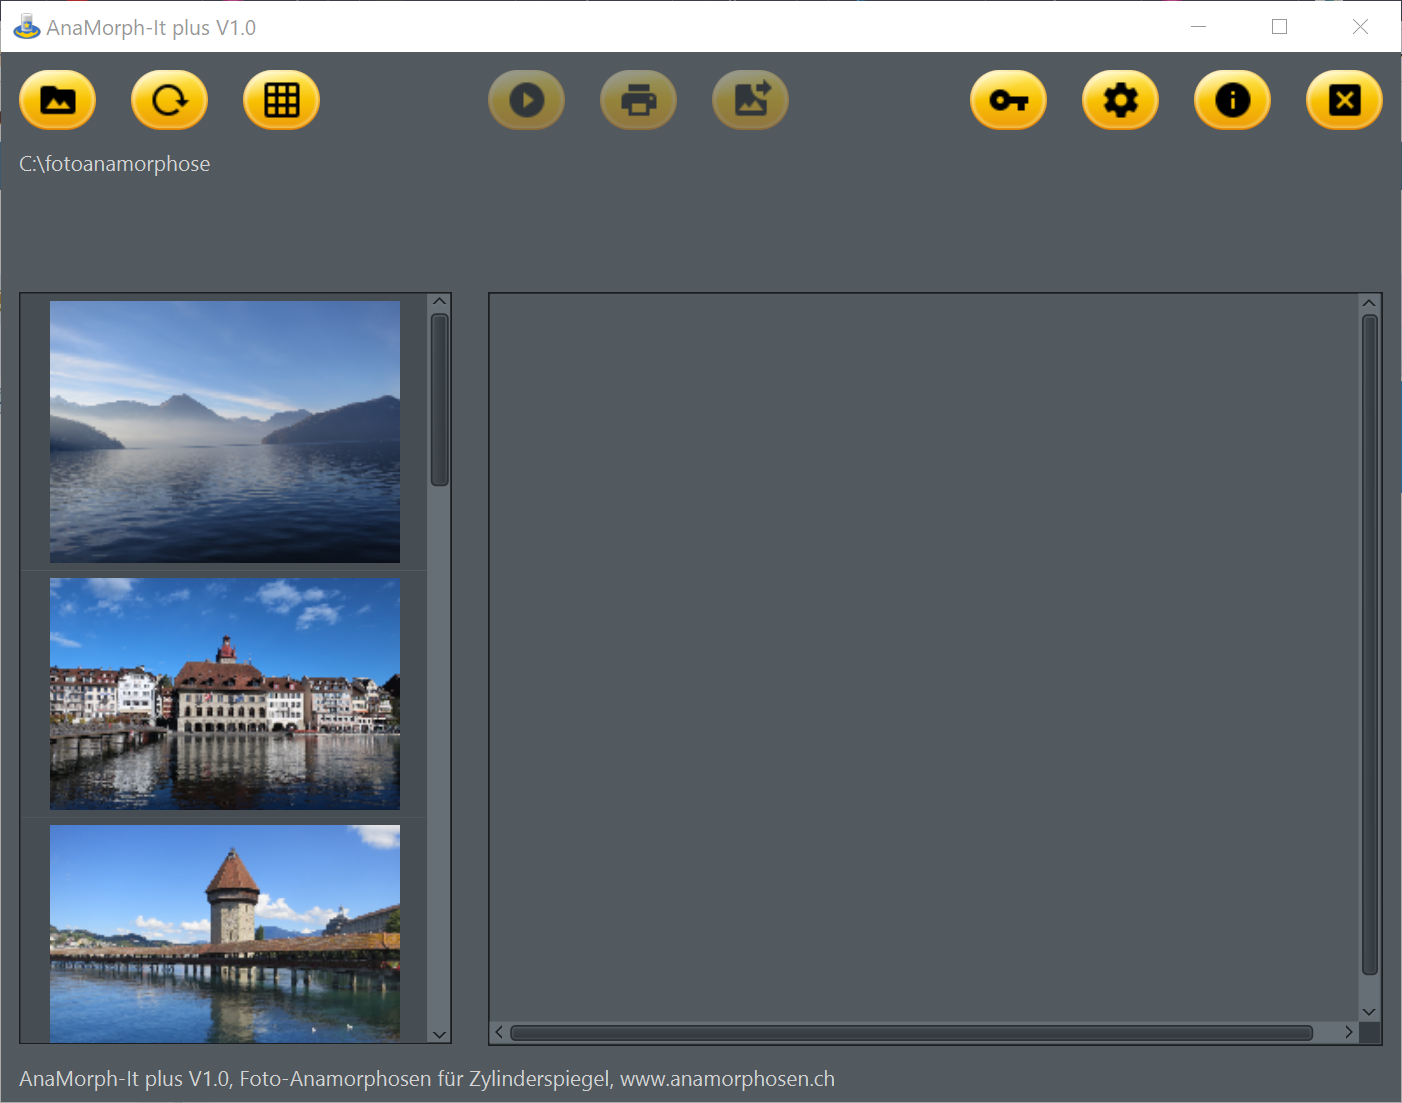
When the working directory is selected, the following happens:
- The working directory is output in the information field above the list.
- The program displays the images with the extension ‘.jpg’ and ‘.png’ in the list on the left.
Since no image has been selected yet, the buttons in the middle of the window remain disabled.
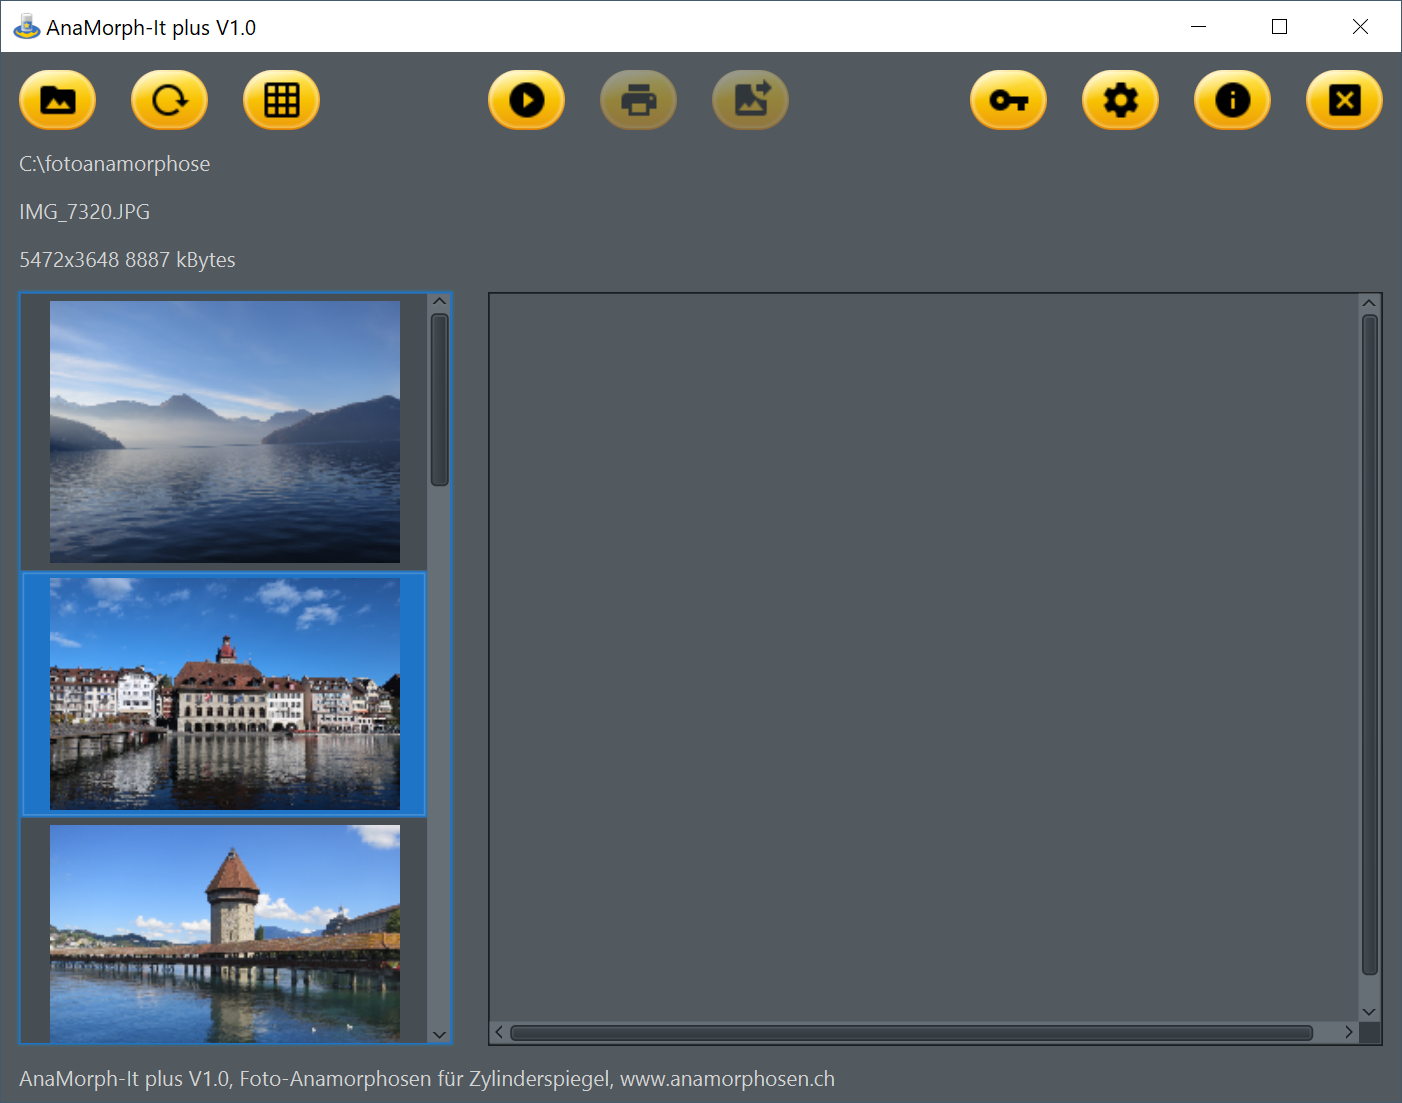
When an image is selected with the mouse, the following things happen:
- The image gets a blue frame
- Detailed information about the image appears above the selection list
- The left button in the middle (morph image) is activated
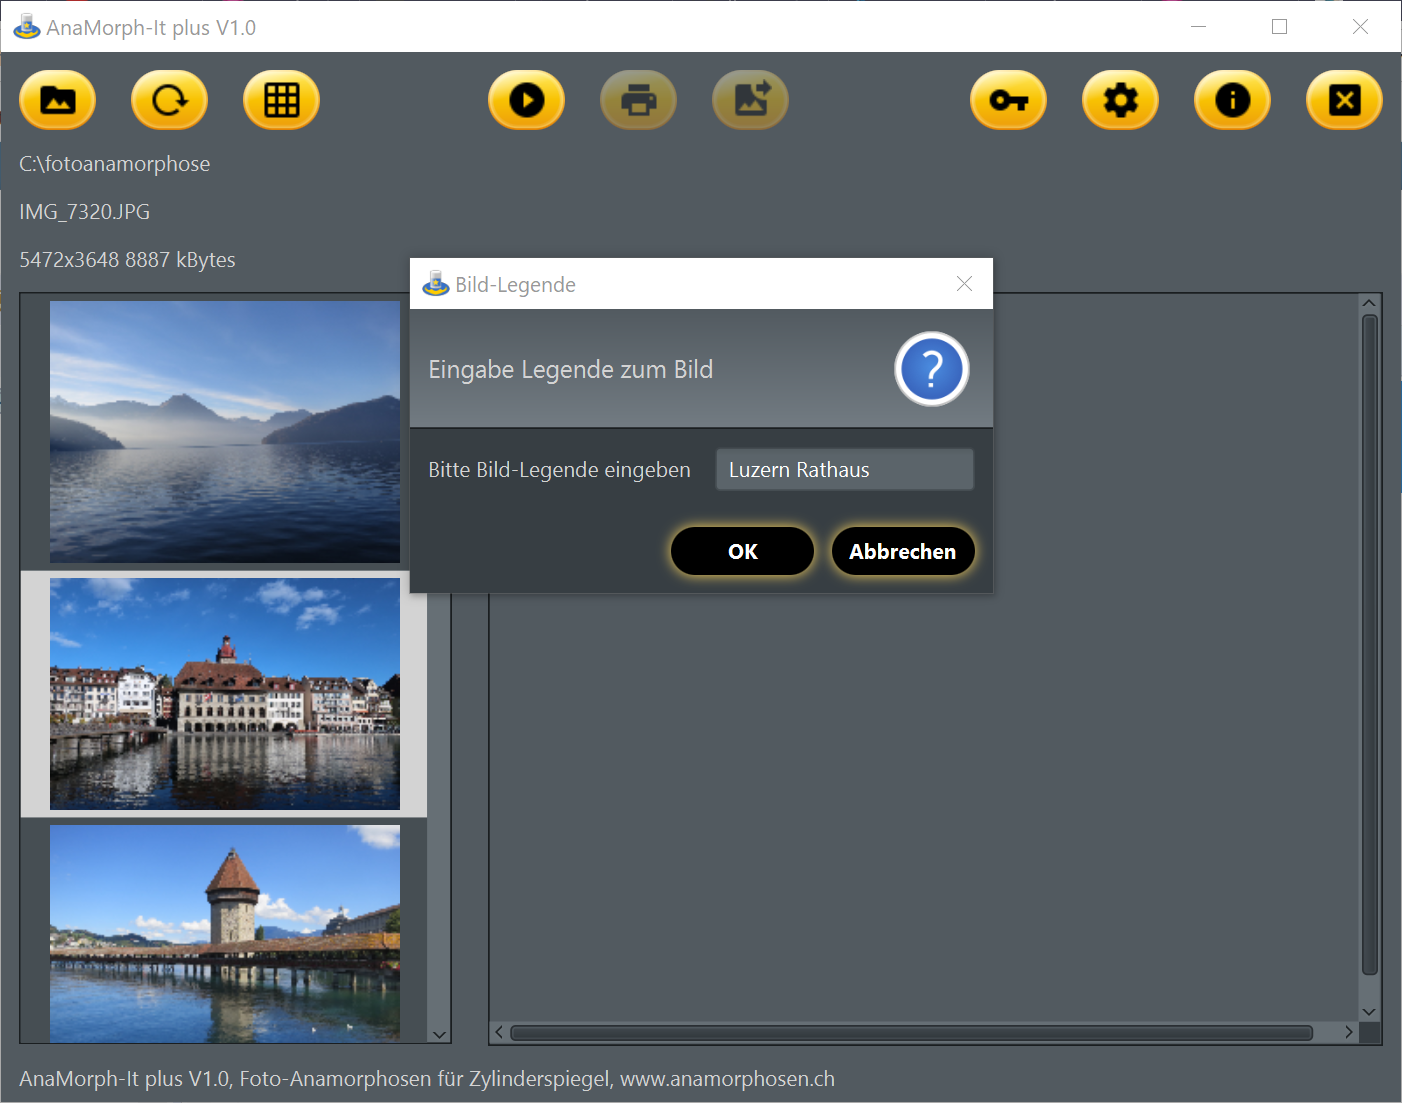

Now a dialog appears that allows you to enter the image legend. This legend will be output in the footer of the morphed image.
In this case, “Lucerne City Hall” is entered.
Attention, this is only valid for the ‘Plus’ version, in the ‘Lite’ version the filename is used for the legend!
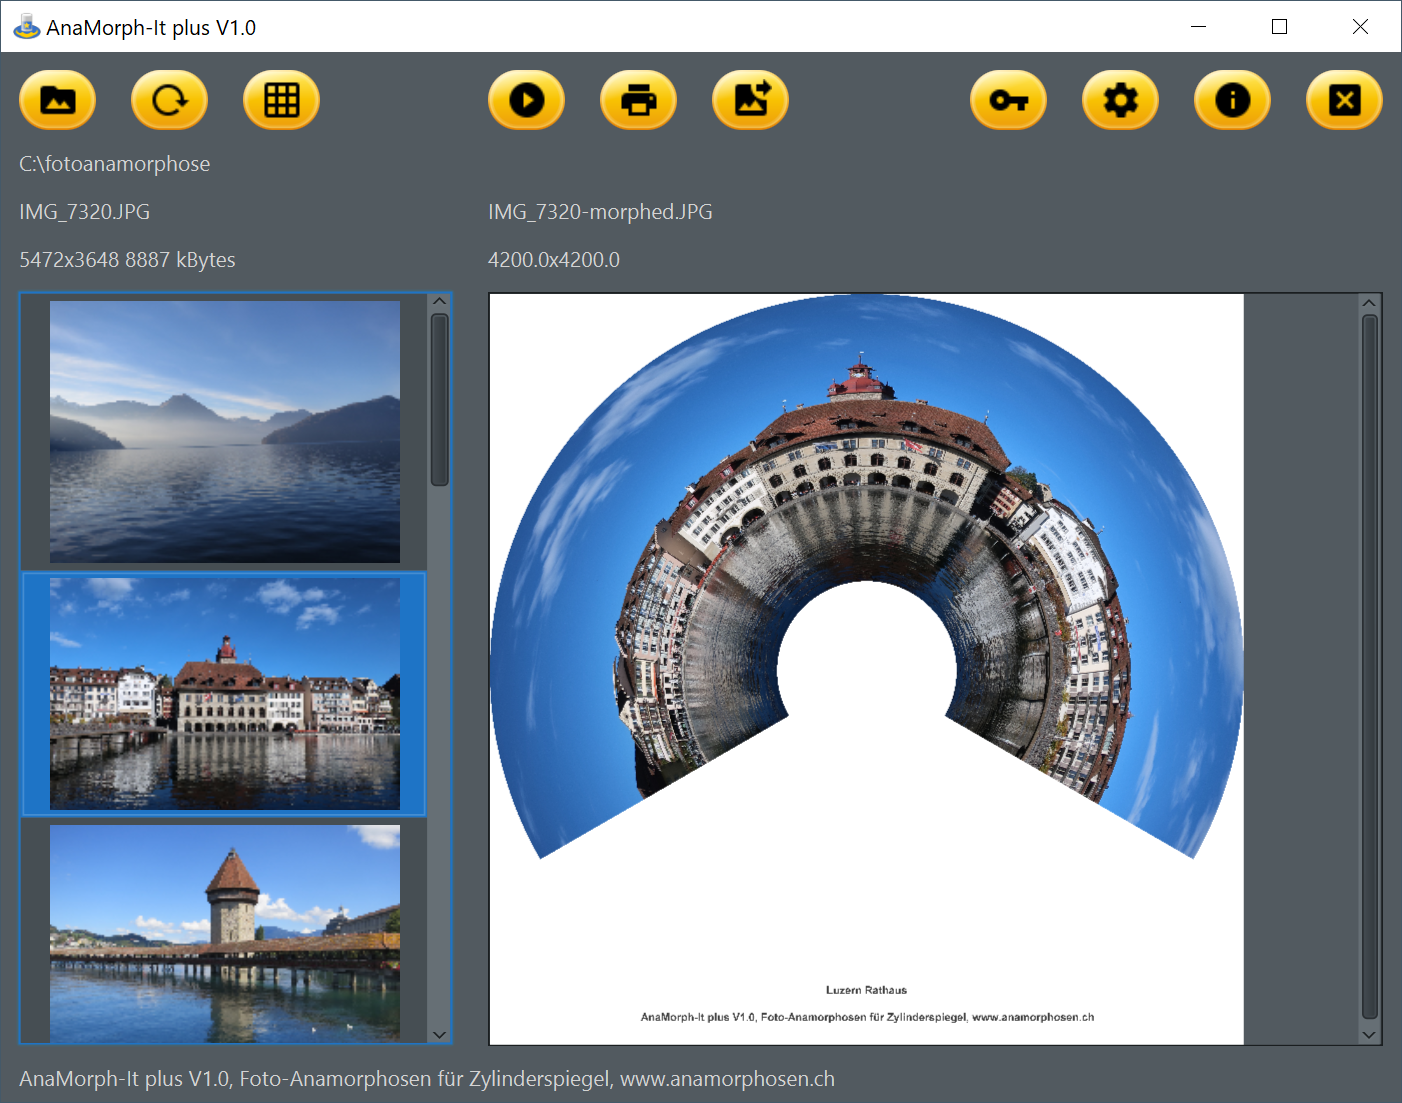
After a short time, symbolized by a ‘wait clock’ that blocks the application, the window on the right displays the reshaped image.
At the same time the following happens:
- Information about the anamorphosis appears above the image window.
- The ‘Print’ button is activated
- The ‘Save’ button is activated


Attention, ‘Save’ is only valid in the ‘Plus’ version, in the ‘Lite’ version saving is not possible!
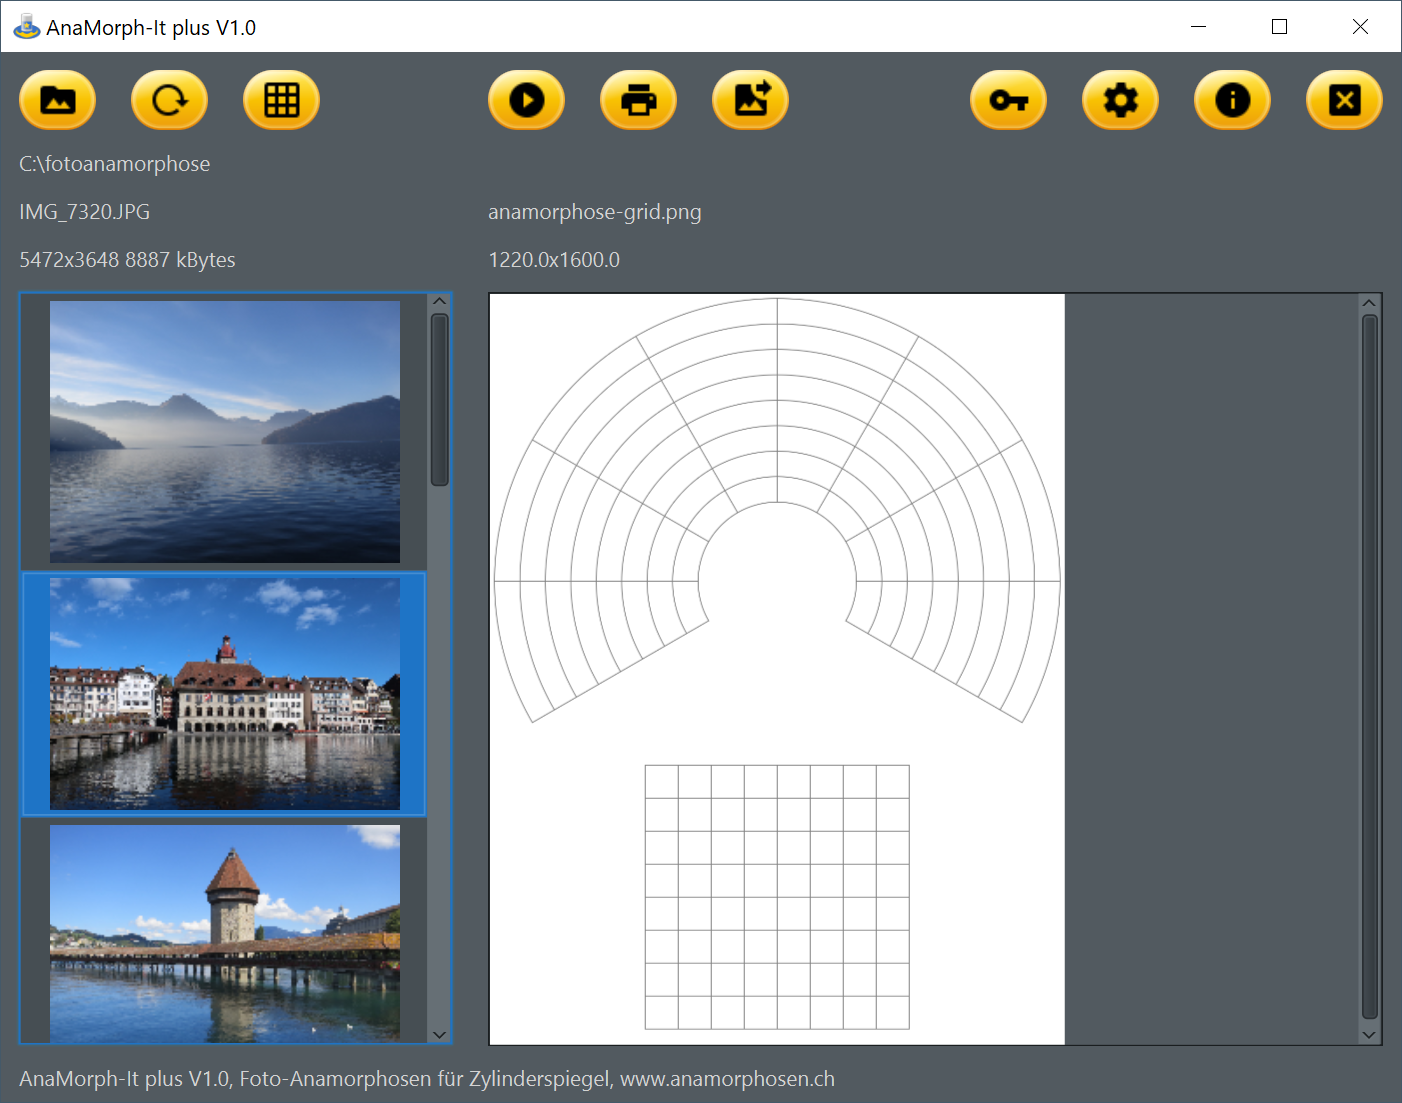

Attention, this is only valid for the ‘Plus’ version, in the ‘Lite’ version this is not possible!